
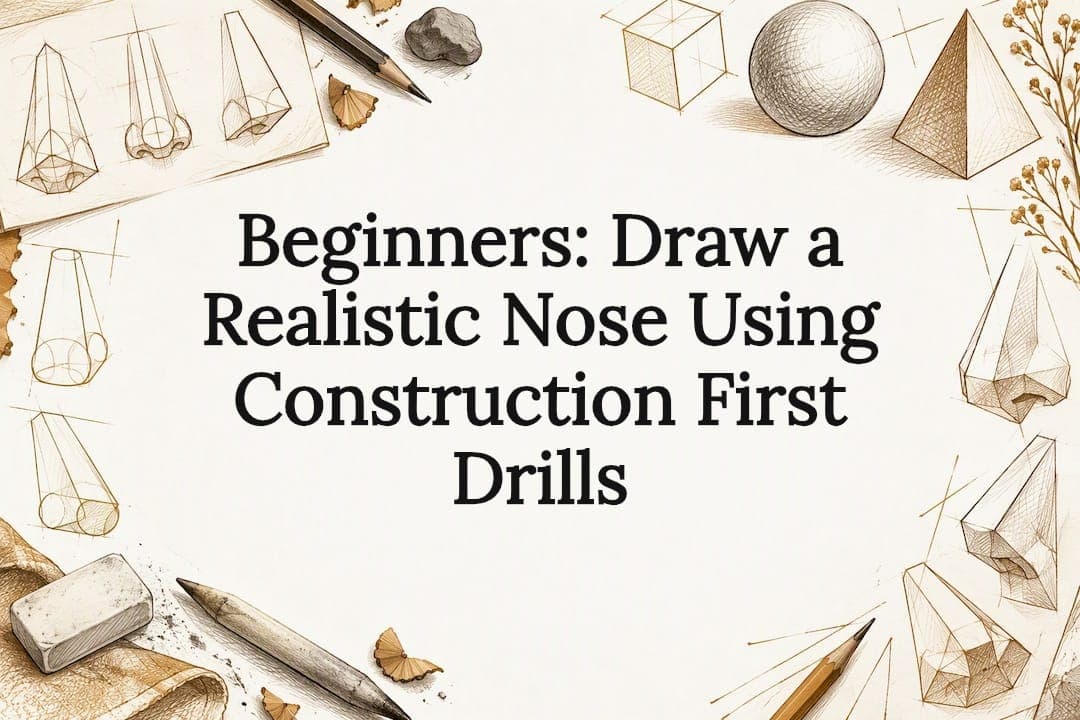
The fastest way to draw a realistic nose is to build it from simple 3D shapes first, then model the light falling across it, rather than tracing an outline. Start with a pyramid and a sphere to establish the bridge and tip, then work through highlight, midtone, core shadow, and cast shadow to give it form. This guide walks you through construction, angle-specific steps, shading, and practice drills designed to speed up the learning curve.
TL;DR:
- Construct the nose as a pyramid for the bridge and a sphere for the tip to simplify form and shading from any angle.
- Use a range of graphite pencils from HB to 6B, along with a kneaded eraser and textured paper, to control value and texture effectively.
- Focus on building the nose from simple shapes and value transitions instead of outlines, which creates more realistic results.
- Practice foreshortening and angle variation by adjusting the construction to match different perspectives and light sources.
- Regular short drills in value control, construction, and shading help develop confidence and speed in realistic nose drawing.
Table of Contents
- Basic materials and tools you'll need
- See the nose as simple 3D shapes, not lines
- Step-by-step: drawing a realistic nose from the front
- Step-by-step: three-quarter and profile views
- Turning form into skin: shading, values, and texture
- Common mistakes and how to fix them
- Practice drills that build real skill fast
- What changes when students switch to construction-first practice
- Where Brittany Clare Art fits into your practice
- Sources
- FAQ
Basic materials and tools you'll need
You don't need an expensive kit to start drawing realistic noses, just a few reliable materials that give you control over value and texture. For graphite work, keep a range of pencil grades on hand: an HB for your initial construction lines, a 2B for midtones, and 4B to 6B for your deepest shadows. A kneaded eraser is essential for lifting soft highlights without damaging the paper, and a blending stump helps you smooth transitions between values. Choose paper with some texture, as it holds graphite better than a slick surface.
If you're working digitally, look for brushes with a textured or grainy edge rather than a hard, uniform one. Set your opacity low, somewhere in the 5 to 10 percent range, and build up tone in thin layers using pressure sensitivity to vary your stroke weight.
- Graphite set: HB, 2B, 4B, and 6B pencils, kneaded eraser, blending stump, toothy paper.
- Digital set: textured brushes, low opacity settings, a pressure-sensitive tablet.
- Workspace tips: keep a clear reference photo nearby, work under consistent lighting, and rest your hand on scrap paper to avoid smudging your progress.
For a full rundown of specific products, Brittany Clare Art's tools guide breaks down what to buy at each skill level.
See the nose as simple 3D shapes, not lines

Before you touch shading, you need a mental model you can rely on for any angle. Think of the nose as an elongated box or pyramid for the bridge, topped with a small sphere for the tip, an approach that simplifies construction from any viewpoint. This shape combination gives you the bridge, the ball, the wings, and the septum as distinct forms you can rotate and light individually.
Each plane on that pyramid catches light differently. The front plane usually holds the brightest value, the side planes fall into midtone or shadow depending on your light source, and the underside almost always reads darkest. A useful proportion check: the width of the nose base tends to roughly match the distance between the eyes, which helps you place it correctly on the face before you commit to shading.
The biggest shift beginners need to make is dropping the outline entirely. Demonstrations that build the nose from circles, triangles, and shading rather than contour lines consistently look more convincing, because edges in real light are defined by value changes, not by ink lines.
- Sketch a loose pyramid for the bridge, then add a sphere for the tip.
- Mark the base cross where the nostrils and wings will sit.
- Identify your light source before adding a single shadow.
Pro Tip: Turn your reference photo upside down for thirty seconds. It forces you to see shapes and values instead of "a nose," which makes the construction phase far more accurate.
Step-by-step: drawing a realistic nose from the front
Working from the front is the easiest place to start, since the shapes sit fairly symmetrically and you can check proportions against the eyes as you go.
- Lightly sketch a vertical centerline down the middle of the nose, then mark the width using the distance between the inner corners of the eyes as your guide.
- Draw a loose base cross near the bottom, adding two small circles where the tip and nostril wings will form.
- Block in the major value zones first: the under-shadow beneath the tip, the midtones along the sides, and the brightest highlight on the front plane. Avoid outlining the nostrils at this stage.
- Work from darkest to lightest. Deepen the core shadow under the tip and the nostril interiors first, then build the surrounding midtones, then lift your highlights last with a kneaded eraser.
- Refine the nostrils as shadow shapes rather than hard-edged holes, keeping the darkest point tucked inside and letting the rim soften into the surrounding skin tone.
For pencil grades, an HB works well for the initial sketch, a 2B for midtones, and 4B to 6B for the deepest shadow pockets. Digitally, use a soft round brush at low opacity for your midtones and switch to a smaller, harder brush only for the tightest shadow edges.
Pro Tip: Treat the nostril as a dark pocket with a soft rim, not a black oval. Reserving your darkest pencil mark for the deepest interior point keeps the whole nose from looking flat and cartoonish.
Step-by-step: three-quarter and profile views
Angled views test your construction skills because foreshortening changes how much of each plane you can actually see.
- Establish the angle of your centerline axis first: in a three-quarter view it tilts slightly, and in profile it runs nearly parallel to the edge of the face.
- Rotate your pyramid-and-sphere construction to match that axis, remembering that the far side of the nose will appear shorter and more compressed than the near side.
- Foreshorten the base cross by narrowing it on the side turning away from you, which is what gives the tip its sense of projecting forward.
- Push more value contrast into the near nostril and the underside plane, since these typically catch the most shadow in a three-quarter or profile pose.
- Blend the shadow connecting the bridge to the nostril smoothly, softening edges where the light wraps around and keeping edges harder only where a plane changes sharply.
If the nose looks too long, check your axis angle again since a common cause is drawing the bridge too vertical for the head's actual tilt. If it looks too short or flat, you likely skipped the foreshortening step on the base cross and need to narrow the far side further.
Turning form into skin: shading, values, and texture
Once your construction is solid, the shading stage is what actually convinces a viewer they're looking at skin rather than a diagram. Five values do the work: highlight, midtone, core shadow, cast shadow, and reflected light. The core shadow marks where the form turns away from the light most sharply, while reflected light is a subtle lightening within that shadow, caused by ambient bounce rather than a direct source.
Nostrils deserve special care. Keep the darkest point deep inside the recess, soften the rim so it doesn't read as a hard outline, and let the surrounding shadow fade gradually rather than stopping abruptly.
Texture is what separates a flat rendering from something that reads as real skin. Digitally, textured brushes at 5 to 10 percent opacity build up subtle pore clusters without heavy, obvious marks. In graphite, a light dotting motion or gentle dabs with a kneaded eraser achieve a similar broken texture. Save heavy blending for larger transitions like the bridge to cheek, and keep pencil marks visible where you want the skin to look slightly rough or textured, since over-blending flattens everything into plastic.
- Map your five values before adding any texture: highlight, midtone, core shadow, cast shadow, reflected light.
- Keep nostril edges soft, with the darkest mark reserved for the interior recess only.
- Preserve highlights early using a kneaded eraser rather than trying to draw around them.
- Blend broad transitions but leave texture visible in areas meant to look weathered or pored.
Pro Tip: Change your lighting reference occasionally. A single overhead light produces harder shadow edges, while diffused window light softens them, and practicing both trains your eye to read edge quality more accurately.
Common mistakes and how to fix them
Most beginner nose drawings share the same handful of problems, and each one has a quick fix once you know what to look for.
- Drawing hard outlines: erase the contour and rebuild the edge using value transitions instead. Real edges are shadow boundaries, not lines.
- Nostrils too large or too dark: treat them as shadow pockets rather than solid shapes, reserving your darkest pencil for the innermost point only.
- Proportions look off or too wide: remeasure the nose base against the distance between the eyes and reestablish your centerline axis before continuing.
- Shading looks flat: push your core shadow darker and protect your highlight, then add a touch of reflected light to separate the planes clearly.
Before you call a nose finished, run through a quick checklist: axis correct, proportions checked, no stray outlines, core shadow present, highlight preserved.
Pro Tip: If something looks wrong but you can't tell what, squint at your drawing. Squinting flattens the values and makes proportion or shading errors much easier to spot.
Practice drills that build real skill fast
Construction knowledge only becomes skill through repetition, and a few short daily drills will move you forward faster than occasional long sessions.
- Spend ten minutes on value gradient strips, moving smoothly from white to black, to calibrate your control over pressure and tone.
- Shade a plain sphere for ten minutes, focusing only on placing the five core values correctly before you ever touch a nose.
- Run ten quick box-and-pyramid construction sketches from different rotated angles, spending no more than two minutes on each.
- Redraw the same nose four times, changing only the lighting direction each time, to see how shadow shapes shift with the source.
- Practice timed sketches at two, five, and ten minutes to build both speed and the habit of prioritizing the biggest value shapes first.
A consistent short routine, repeated several days a week, tends to produce noticeable improvement within a few weeks. Keep your practice sheets dated so you can compare your work honestly over time.
For a structured version of these drills with reference sheets and guided progression, Brittany Clare Art's How To Draw Realistic Skin eBook and the Learn page walk you through the same construction-first method in a set sequence.

What changes when students switch to construction-first practice
The biggest shift I see in students isn't technical, it's confidence. Once someone stops trying to draw a nose from memory and starts building it from a pyramid and a sphere, the fear of "getting it wrong" mostly disappears, because there's a repeatable process to fall back on. Skin texture is usually the next hurdle, which is exactly why the tutorials focus so heavily on simplifying that part of the process. Try the drills above for a week and see what shifts in your own work.
— Brittany
Where Brittany Clare Art fits into your practice
If you want the drills above turned into a repeatable system rather than a one-time read, that's exactly what the downloadable guides are built for. The Digital Downloads collection includes step-by-step reference sheets and tool lists that map directly onto the construction and shading workflow covered here, so you're not rebuilding your process from scratch every time you sit down to draw.

The How To Draw Realistic Skin eBook goes deeper into the texture techniques from the shading section, breaking down the repeatable patterns Brittany developed over years of working on skin rendering specifically. If you'd rather work through a full portrait from start to finish once your nose construction feels solid, A Dark Beauty walks through an entire realism workflow using the same principles. Start with the eBook if texture is your main sticking point, or browse the full Digital Downloads shop to see what fits your current stage.
Sources
For visual demonstrations of the construction method, the National Portrait Gallery's artist demonstration shows the shapes-then-shading process in action. Wacom's guide is useful for digital artists working through foreshortening, and the Udemy blog breakdown covers the under-shadow concept in more depth.
- Artist demonstration: how to draw a nose — National Portrait Gallery (NPG)
- How to draw a nose — Wacom
- Nose drawing guide for realistic portrait art — Rubble Magazine
FAQ
How do I make a nose look simple but still realistic?
Reduce the nose to a pyramid shape topped with a small sphere for the tip, then focus on just three values: a highlight, a midtone, and a shadow. Keeping the shape simple and the values clear reads as realistic even without heavy detail.
Why is drawing a nose so hard for beginners?
The nose has no hard edges in real life, so beginners who rely on outlines end up with a flat, cartoonish shape. Once you shift to building the form with shading and avoiding contour lines, the difficulty drops considerably because you're describing light instead of guessing at edges.
What's the fastest way to improve realistic drawing skills overall?
Short daily drills, such as value gradients and sphere shading, build the value-control skills that transfer to every feature you draw, not just noses. Pairing that practice with a structured resource like Brittany Clare Art's Learn page keeps your practice organized instead of scattered.
Can you break down the nose into a simple labeled structure?
Yes, the nose divides into four main parts: the bridge, the ball, the wings, and the septum, each sitting on its own plane relative to the light. Mapping these as distinct forms with their own value zones is the basis of the construction method covered throughout this guide.